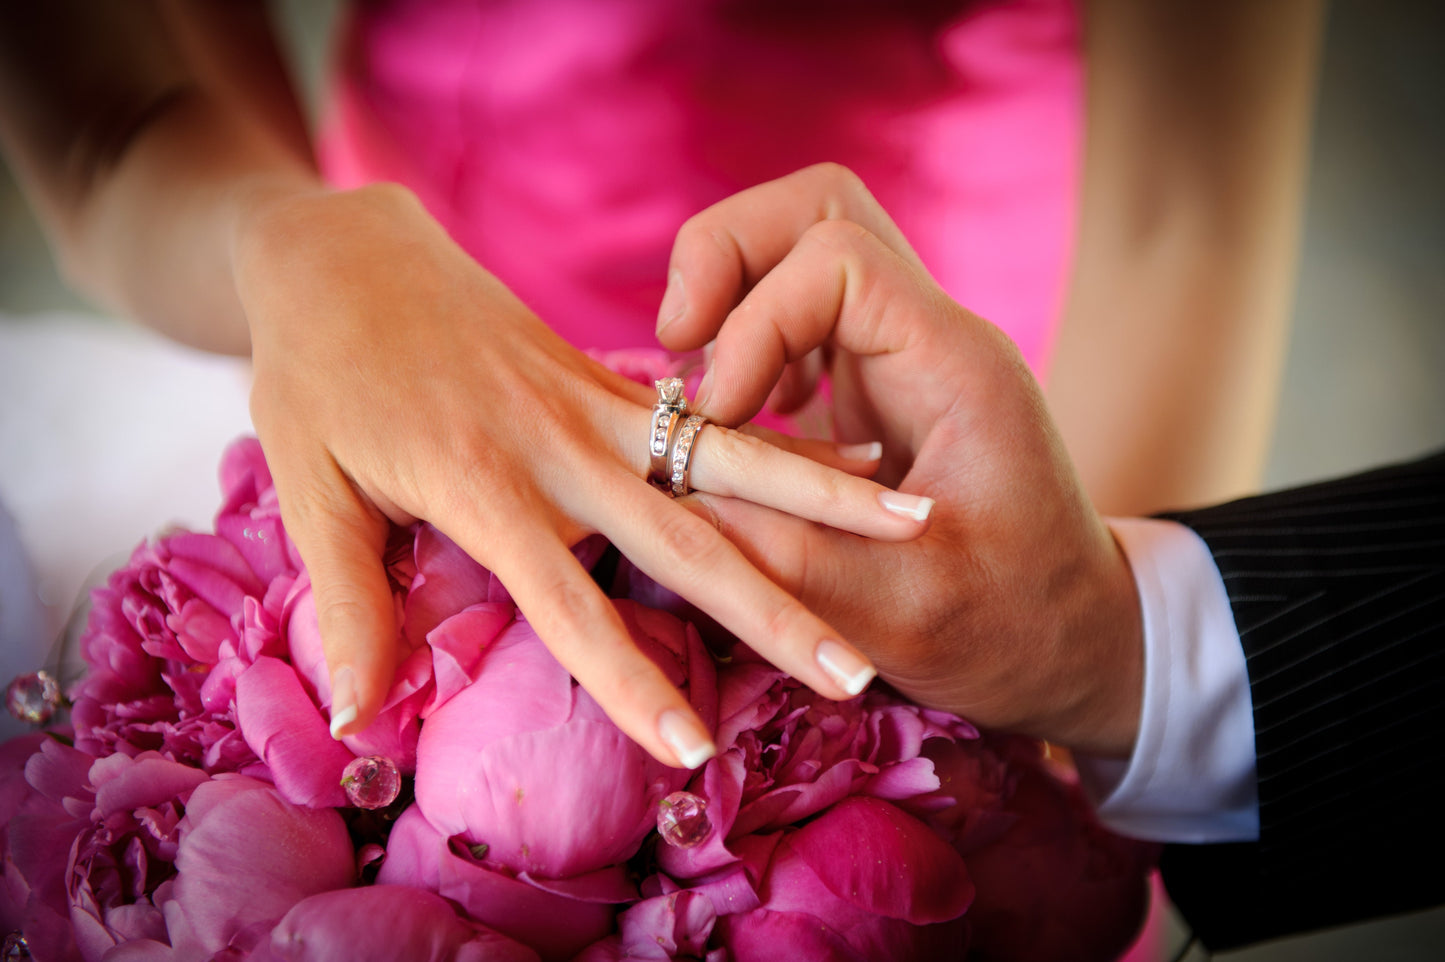
A little reminder
If you remember from the first part of this blog (July), we sent our ring model, which had been sculpted in wax by our jewelry artist, to the foundry to have it cast in the metal of our choice. So, how is it made?
1 - Plaster mold and casting
The waxes are "pricked" on a trunk (a bit like a tree), and then placed in a cylinder. Plaster is then poured into it and baked. This is how the wax will make way for an impression ready to receive the chosen metal (this is the shape of the ring since the latter will have melted when the plaster is baked, leaving an empty space in the plaster).
For example, let's say that all the jewelry in this cylinder will be cast in 14K yellow gold. Obviously, you can't cast different metals in the same cylinder! One cylinder = one metal (gold/color/karat, silver, platinum, steel, etc.)
So, in our example, we proceed to the casting of the 14K yellow gold into the cylinder, using different techniques, which I will spare you for the moment. This is followed by the demolding, drying and extraction of the pieces from the cylinder. And there you have it!...we have our 14K yellow gold ring ready for the next finishing steps. So, when we want to demold the "tree", this is what it looks like!
Before going any further, it is important to understand that the ring we cast will remain unique until this stage only. Since this ring was a custom-made model for our client, we will change the model/ring to continue this blog!
2 - Rubber or silicone mold
When you want to produce multiple copies of the same ring, you need to make molds. Molds save the designer from having to remake/sculpt the design in wax every time!!! It would be pointless and very expensive otherwise! The next step is to make a mold and create a metal model, commonly called a "super master". So, before casting directly in gold as we just did above, at this stage we will send the model sculpted in wax to be cast in a less expensive metal (brass, silver, etc.). The tree will look identical to the photo above EXCEPT that it will not be in gold but in brass etc.
And finally, after demolding, drying and extracting the pieces from the cylinder, this time we obtain the first metal model (for example in brass) of our ring.
Are you still following me???
Perfect….let’s continue!
This metal model will be used to make a mold (rubber or silicone) which will be cut (zigzag) so as to easily extract the wax with each order of this model.
Note the casting path (under the ring and under the tops) which becomes the access to inject wax! Yes...back to the wax!!! However, this time each wax that will be returned to the foundry will be cast in the metal of our choice (gold, platinum, silver, steel, etc.).
Remember the tree picture above? So, you have to understand that if we want to mass produce a model, we will have to add the molding step to the manufacturing process. Since one wax is equal to one ring (in this case) and we want to make 10 identical rings, for example, there will be 10 waxes of the same ring in the tree. But how do you multiply the rings with the mold, you ask? By injecting waxes, I tell you!...!
3- Wax injection
Once the mold is made, wax must be injected into it (under pressure). And it is this wax that will be cast later (yes another tree)! In the example below, we will cast the body of the ring in 14K white gold and the ''top'' in 14K rose gold! If you follow me, this will have taken a tree cast in its cylinder in 14K white gold and another cast in a second cylinder in 14K rose gold!!!
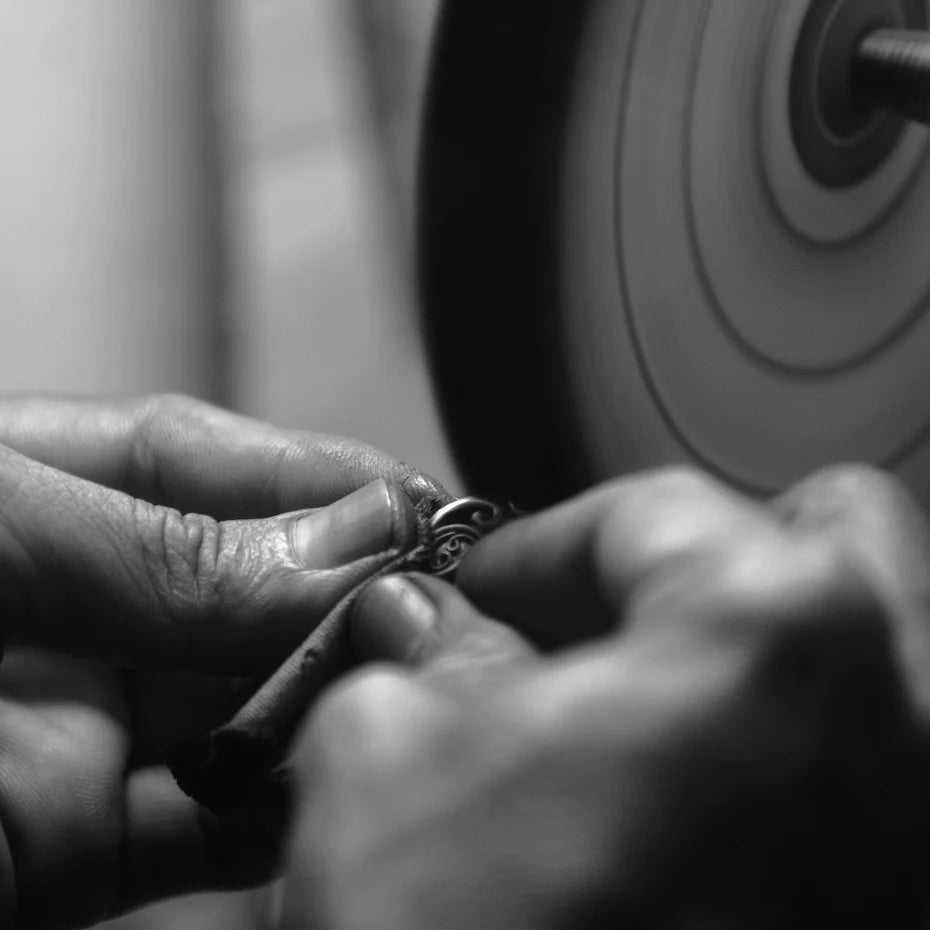
There you have it, you know how to make jewelry production using casting and wax injection!!
Phew!....yes I understand you! We will make a video soon that explains the process. Definitely easier to understand J
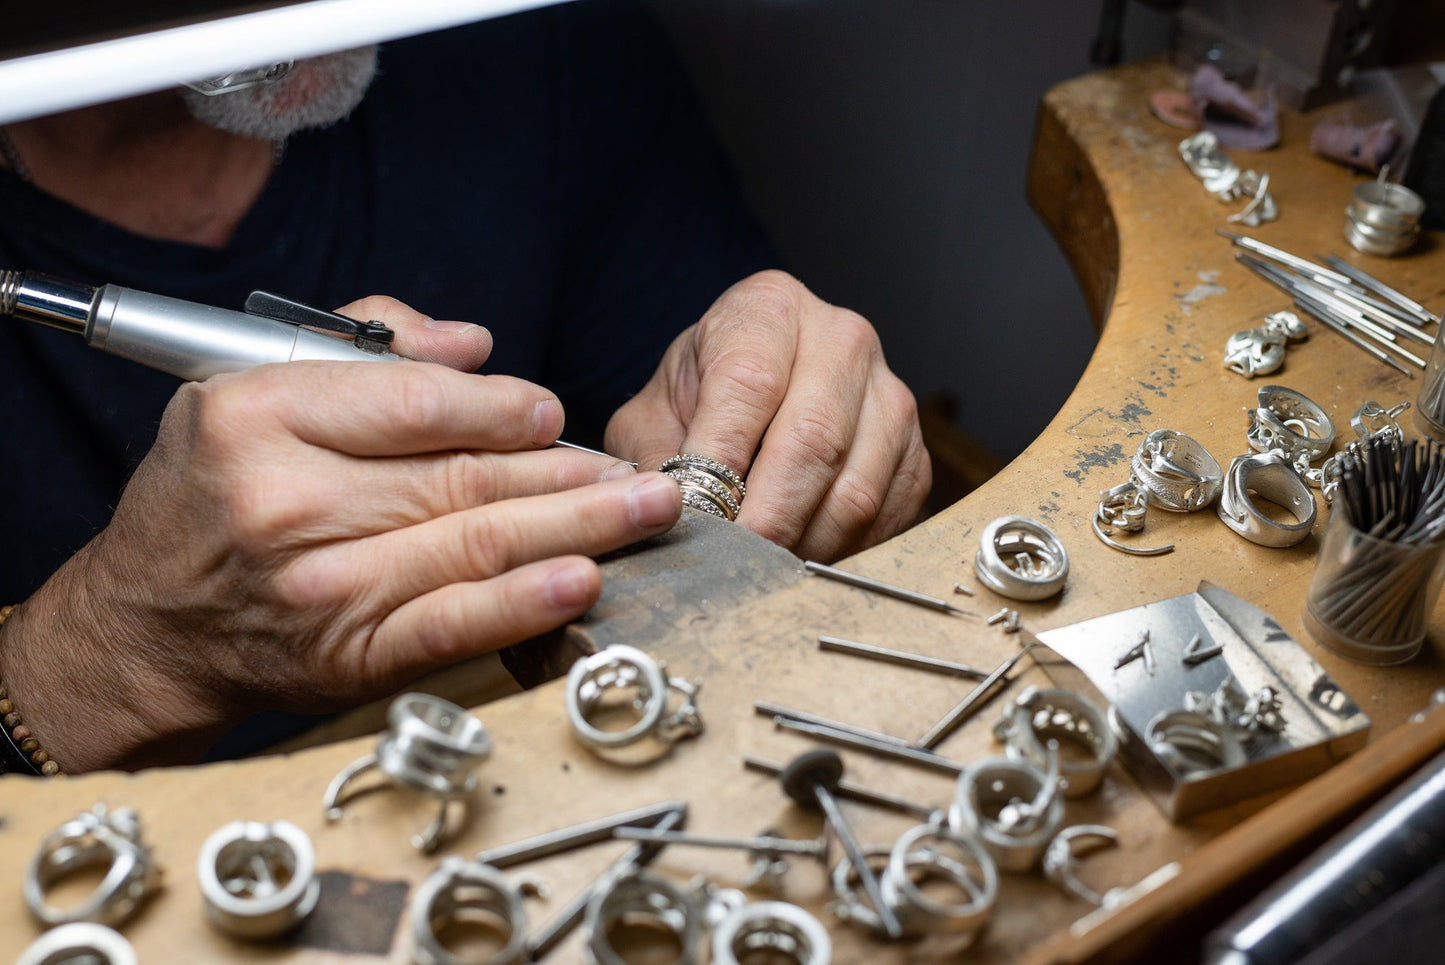
In the 3rd and final part we will see that once the ring is cast in the metal of our choice, the work is far from over!
There are still many steps to go before the finished ring shines on our customer's finger!
Jewelry making isn't that easy, is it? That's why it's an art!